Captain's Log
Just Trying Something
also we got married seven days ago
So, I haven't been cooking much lately. Or rather, I haven't been cooking in the same sort of careful, photo-documenting way that drove so much of this blog earlier in the year. But! Good news! I made ice cream sandwiches a month or two ago (...) and I took pictures of it. So here we go!
This recipe is one of several that gets me thinking about Dutch-processed cocoa versus regular cocoa. You know how the Dutch stuff pops up every now and then? How Oreos are a darker brown than other chocolate cookies? Dutch-process cocoa has a reputation for being "better" and having a truer chocolate flavor, or something. I think technically it's just cocoa that has been treated with alkali and that the pH has been affected by the process... something something baking powder not baking soda, or vice versa, for effective leavening. (Better internet explanation here.) I don't ever see it in grocery stores, though, so maybe it's just not a "common people" sort of ingredient? Anyway. I spotted a carton of a Dutch/regular cocoa blend at the store and thought I'd give it a try. Photo here:

 |
| Dutch process is on the left. Surprising difference, no? |
- 2 2/3 c flour
- 2/3 c plus 1/4 c Dutch-process cocoa
- 1 1/4 c unsalted butter
- 1 c sugar
- 3/4 tsp salt
- 2 egg yolks
- 1 T vanilla
I followed the instructions for the cookies pretty closely, starting with creaming together the room-temp butter, salt, and sugar.

I try to whip them together long enough so that the sugar granules feel noticeably smaller in the butter... aka they have begun to dissolve into the butter. Ideally they'd dissolve completely, but, you know, who has time for that!
 |
| like amazing whipped cream |

And then I added two egg yolks to the butter/sugar mixture. Quick word on yolks: a few months ago, I made an angel food cake. The recipe called for 12 egg whites. I could not bring myself to throw out 12 egg yolks, so I put each one in the well of an ice cube tray, added a few drops of water and a dash of sugar, and I mixed it with a toothpick. When the yolks had frozen completely, I scraped them out and put them in a freezer bag for later use. I've never done this before, mind you, it was just something I've read you can do. Anyway, for this present cookie recipe, I used the yolks! Here's a shot of the thawed bag of weird yolks:
 |
| terrible apricot impersonators |

Next was adding the flour/cocoa, and I just could not get an effective photo of this. Here's a teaser wedding shot instead:
 |
| Gift table. My sister, mother, and I all hand-dyed those doilies in... geez.. February? |
 |
| Mind you: this is only half. Do this in two batches unless you're a masochist. |
It was quite sticky. As you can see, my preferred roll-out method these days is using parchment paper and a dusting of flour. It's not ideal (paper slides around!) but it gets the job done.
I rolled out the dough to what I thought was a good thickness and I trimmed the edges to make a cleanish rectangle...

Then I cut it into sandwich-sized rectangles...

and I poked holes using a nut pick (...toothpicks or temp-testers would also be perfect).

I put this tray in the oven (350°, about 16 mins) and then I rolled out the second half of the dough.

This one ended up with a cool flour pattern on it, like dinosaur skin.

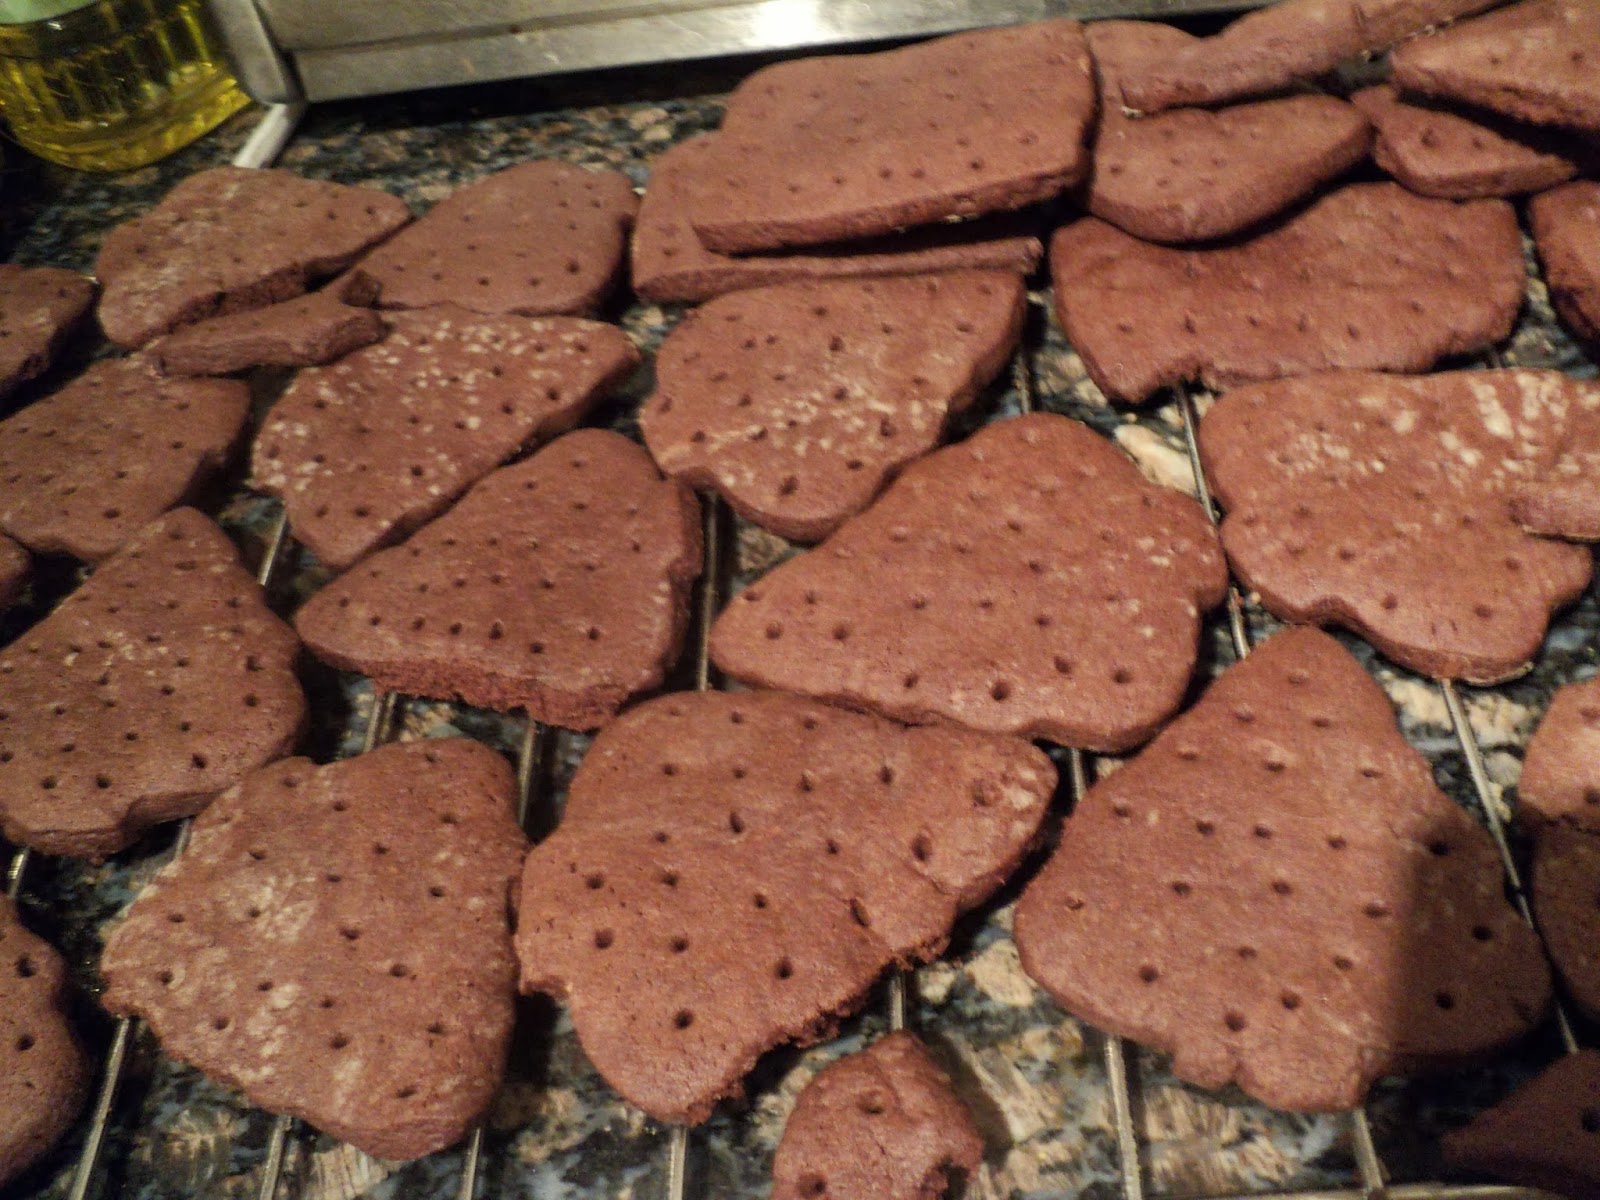
And then I cut it into... you guessed it! Trees!
 |
| Extra nubbins were used for QC. (Quality Control) |
And then I froze them in a bag for a couple of days until I was ready to make the sandwiches.

Here's where I strayed from Smitten Kitchen. She has an elaborate (and highly effective, I'm sure) method for spreading out the ice cream, cutting it into perfect rectangles, and then placing the rectangle ice creams onto the cookies. I did not do this because it sounded like a disaster mess and I figured I could do "good enough" with softened ice cream and an offset spatula. I was right!
 |
| Vanilla and strawberry |
 |
| I did spread this out more evenly. For the record. |

I wrapped the sandwiches in plastic, individually, and froze them again for consumption a few days later.

And they were amazing! The cookies were chocolatey and had a nice touch of salt. The only thing I'd do differently next time is I would roll the cookies a little more thinly, because they were too firm for the ice cream. At least, they were too firm when they were really fresh. A few weeks after I made them, the cookie part started to soften up and more closely resemble the texture of store-bought ice cream sandwiches. But the flavor? Terrific!
They sound divine, but a lot of work. You really need to move closer so you can just share. Book club ladies would love these.
ReplyDeleteLoved the pictures and the wedding.
YAY MORE WEDDING!!!
ReplyDeleteAnd those cookies were awwwwwwesome.
Cookies!? Did you say 'cookies?'....I WANT COOKIES!
Deletecravingly,
the F.O.B.